Neversettle;415478 said:
Thanks :cool:
Since you have used the
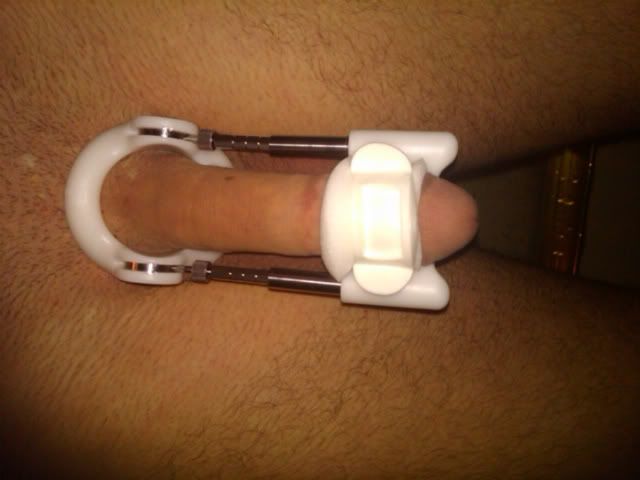
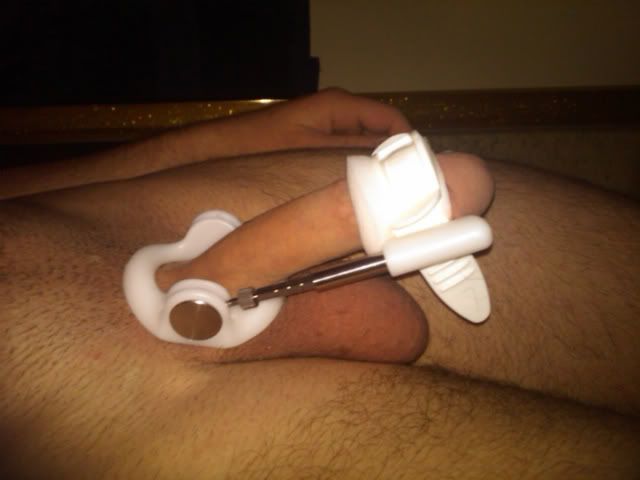
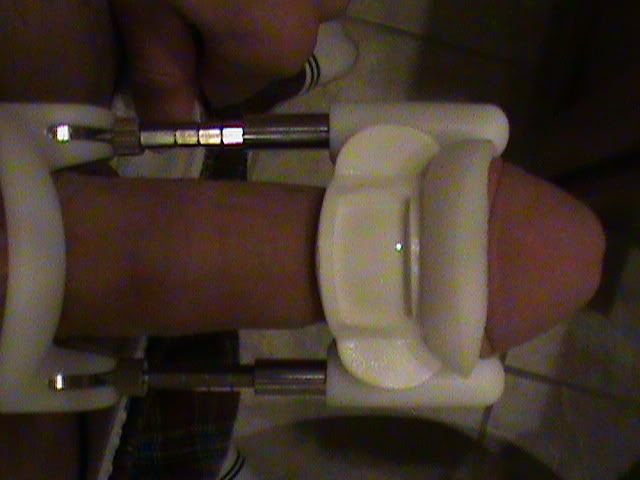
SG as well DLD I was wondering how to get the device to compress to the 900? It didn't seem to compress for me when I was using the device. As well as how is the placement in your professional opinion? Do you place your foam pad on the circ area or a little before it? I noticed that the head was most sensitive when I have the placement on the circ area and if I do want to continue placement in that area I may need to wrap my glans/neck for some added comfort. I also wonder if there would be a difference too in the size/girth from either of those placements with the device.
SizeGenetics just posted this and it should be very helpful:
Help with the
SizeGenetics device
Hello everyone,
Recently I have had a few questions regarding how to use the
SizeGenetics device, how long to wear it for, etc.
Below is some information which should answer the majority of your questions:
I can confirm that there is an instructional
DVD ROM with every purchase which demonstrates how the device should be worn.
The
DVD is behind the foam lining in the top of the case.
Below are some basic instructions of how to use the device though to get you started:
Assembly
1. The device should be set at a size which is just over your flaccid length (additional pieces can be added by using the keys provided)
2. There is a basal plastic ring (Piece 1) with a recess for the urethra (Piece 2 - same as Piece 1). The ring is fastened around the base of the penis.
3. Two metal bars, one with a right-handed thread (Piece 3), the other with a left-handed thread (Piece 4) are attached to the basal ring. Hidden inside each bar, is a spring contrivance (Piece 5).
4. At the distal end the two bars are attached to a plastic support (Piece 6) with two holes, for the comfort strap (Piece 7) to fit through.
5. The components 1-5 are pre assembled on delivery
Usage
1.The device is mounted by fastening the basal ring (Piece 1) around the base of the penis, so that the two metal bars (Pieces 3+4) run parallel with the penis, one on each side, and the head of the penis rests in the bowl-shaped support (Piece 6).
2.By passing the two ends of the comfort strap (Piece 7) through the holes in the plastic support (Piece 6) a loop is made through which the head of the penis is introduced. Before fastening of the penis the plastic support should be pressed towards the body so that the two springs press home.
3.The comfort strap is fastened around the penis head by pulling the ends of the comfort strap (Piece 7) through the reverse side of the support. If you have not been circumcised the strap is fitted just below the glans with the foreskin in place.
4.Additional pieces of metal bar (Pieces 8, 9 + 10) may be added as required by means of the two keys (Piece 11).
Additional bars come in three sizes:
1 cm (small) (Piece 8)
2 cm (medium) (Piece 9)
4 cm (large) (Piece 10)
Changing
traction force
When the device has been fitted the force of
traction can be adjusted by turning the two thumb-screws in either a clockwise direction (for increasing
traction) or an anti clockwise direction (to loosen
traction force)
The actual force exerted can be read on the hexagonal pistons and the force of
traction can be varied from 600 to 900, 1200 or 1500g
Each marking on the piston equals a
traction force of 300g. Thus, at the exertion of maximum force (1500g) only one marking is visible on the piston;
*The mark closest to top of the device (nearest the penis head) = 900g
*The mark in the middle = 1200g
*The mark closest to the bottom of the device (nearest the base of the penis) = 1500g
*You should not be able to see the threads at any time and if they are visible, a new extension piece needs to be added
I would advise that the hexagonal bars leading up to the spring loaded cylinder must be stationary, and not twist when you turn the thumb screws, as this will not allow the
traction force to be changed.
I would also advise that the penis must be held securely in place to allow the arms to creep into the cylinder and therefore alter the
traction force.
Hourly Routine
Week No. 1
Hours Usage per day: 2-3
Traction force: 900g
Week No. 2
Hours Usage per day: 3-4
Traction force: 900g
Week No. 3
Hours Usage per day:4-5
Traction force: 900g
Week No. 4
Hours Usage per day: 3
Traction force: 1200g
Week No. 5
Hours Usage per day: 3-4
Traction force: 1200g
Week No. 6
Hours Usage per day: 4-5
Traction force: 1200g
Week No. 6+
Hours Usage per day: 12 is recommended
Traction force: 900g (raising)
I hope that this information has been helpful.
If anyone has any additional questions just give me a shout.
Kind regards,


